

RO/DI Maintenance
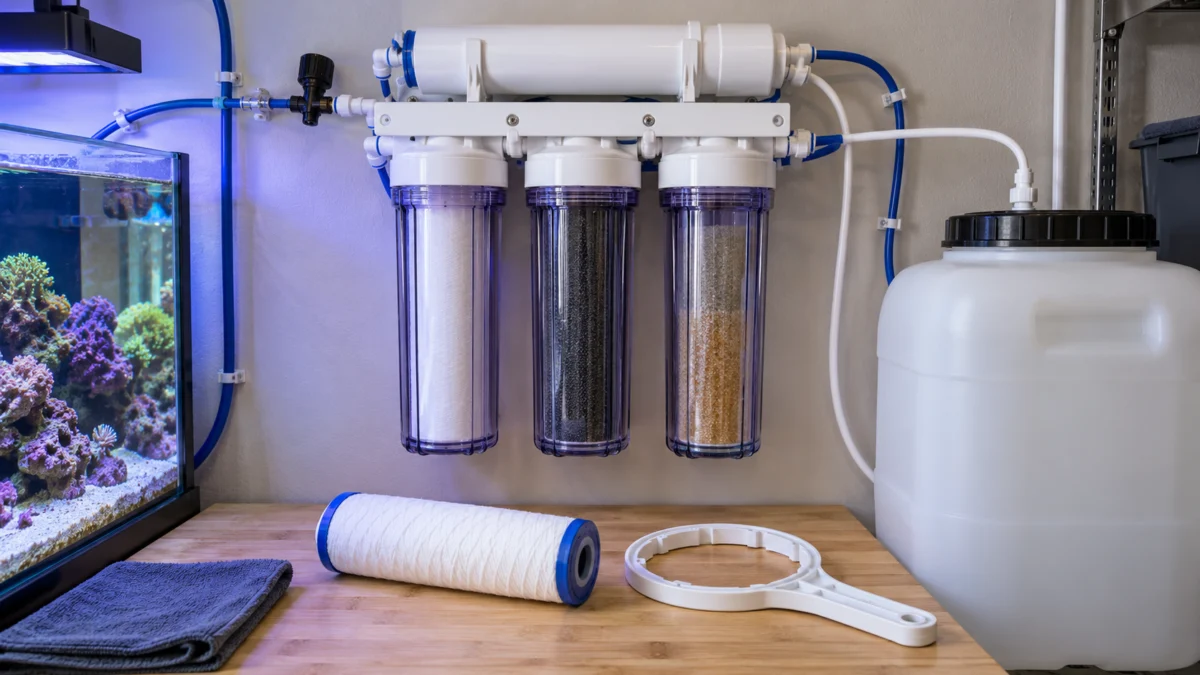
Reef keeping • Detailed tip
RO/DI Maintenance: Know Which Filter Needs Attention
Use pressure, chlorine testing, and TDS readings at the right stages to maintain aquarium source water and troubleshoot filter performance.
About 4 minutes • Practical steps, troubleshooting & checklists
Original AI-generated editorial illustration.
In this guide
- 1. Map the stages and measurement points
- 2. Monitor sediment and carbon appropriately
- 3. Evaluate the membrane before blaming DI
- 4. Watch final DI output
- 5. Replace cartridges without introducing a new problem
- Keep production water clean
- A useful maintenance log
An RO/DI unit is a series of filters with different jobs. Treating it as one cartridge—or judging every stage by a single final TDS number—makes it easy to miss a developing problem. Good maintenance starts with knowing where the water goes and what each stage is meant to remove.
Use your system’s manual for its actual arrangement. The examples below describe a common sediment, carbon, reverse-osmosis membrane, and deionization setup, but extra carbon stages, separate resins, and other designs change the details.
1. Map the stages and measurement points
A sediment cartridge traps particles. Carbon stages address disinfectants such as chlorine and, with suitable media and capacity, chloramine. The RO membrane rejects much of the dissolved material, and DI resin removes remaining ions.
Identify three useful TDS sampling locations: source water, RO product water before DI, and final water after DI. Label tubing and meter positions so a reading is not accidentally attributed to the wrong stage. TDS is an estimate of dissolved ionic content; it does not identify individual contaminants or prove that every prefilter is functioning.
2. Monitor sediment and carbon appropriately
Record normal operating pressure after the prefilters where your gauge is installed. A developing pressure drop can indicate a restricted prefilter, but household supply pressure also varies. Compare under similar operating conditions before buying replacements.
A discolored sediment filter deserves inspection, but appearance alone does not describe carbon performance. Use the system manufacturer’s chlorine or total-chlorine testing procedure, including its specified sample location and detection threshold. A low final TDS reading is not a substitute for verifying disinfectant removal. Replace prefilters according to performance, rated capacity, and the manufacturer’s time limits.
3. Evaluate the membrane before blaming DI
Compare source-water TDS with stabilized RO-water TDS before the DI stage. A simple rejection calculation is:
Rejection (%) = [1 − (RO TDS ÷ source TDS)] × 100
Worked example: Source water measures 250 ppm and RO product measures 5 ppm. Rejection is [1 − (5 ÷ 250)] × 100 = 98%. This describes that measurement, not a universal passing grade. Compare it with your membrane’s specifications and previous results under similar conditions.
If performance declines, check pressure, water temperature, sampling conditions, and system configuration before concluding that the membrane is exhausted. Do not calculate meaningful rejection from a source reading of zero or from unrepresentative startup samples.
4. Watch final DI output
For typical reef-water preparation, a final meter reading of 0 ppm TDS is the usual goal. It means below that meter’s reporting resolution, not chemically perfect water. A repeatable rise after DI calls for investigation.
First verify the sample container and meter. Then inspect resin installation, packing where relevant, and exhaustion. Color-change resin offers a useful visual cue, but measured output matters too. If DI seems to disappear unusually quickly, check membrane performance rather than repeatedly replacing resin without asking why.
5. Replace cartridges without introducing a new problem
Shut off the water supply and relieve pressure before opening housings. Work in a clean area. Confirm each replacement belongs in the correct stage, inspect seals, and follow the manual for orientation, lubrication if specified, and tightening.
Use the prescribed flushing or rinsing procedure after replacement, including any instructions for keeping new carbon fines away from downstream stages. Do not improvise chemical cleaning or sanitizing mixtures. Restart while present, inspect for leaks, and verify output before filling aquarium-water containers.
Keep production water clean
Use dedicated clean containers and keep them covered. Avoid transferring water with a cup used for salt mixing, since residual salt can distort a handheld TDS check. Label fresh RO/DI water separately from mixed saltwater. A clean filter system cannot protect water after it is placed in a contaminated container.
A useful maintenance log
- Date, cartridge identity, and approximate production volume.
- Operating pressure and unusual changes.
- Source, pre-DI RO, and final DI TDS readings.
- Disinfectant test method, sampling location, and result.
- Replacement, flushing, leak check, and verified restart.
Replace the stage that evidence identifies. Low pressure, declining membrane rejection, and rising post-DI TDS are different symptoms and should not automatically lead to the same purchase.
References & further reading
- Monitoring individual filters
- Limits of TDS-only maintenance
- Cartridge replacement procedure
- RO/DI stages and final-water purpose
Tropical Fish & Coral • Tips & Tutorials