

Check Salinity Before Your Next Water Change
Tropical Fish and Corals · Daily Tutorials
Check Salinity Before Your Next Water Change
October 24, 2026 · Water quality · About 5 minutes
A water change should bring fresh saltwater into your reef without an unexpected salinity swing. A clean, correctly calibrated tester and a final comparison can help you catch mistakes before the new water reaches your corals.
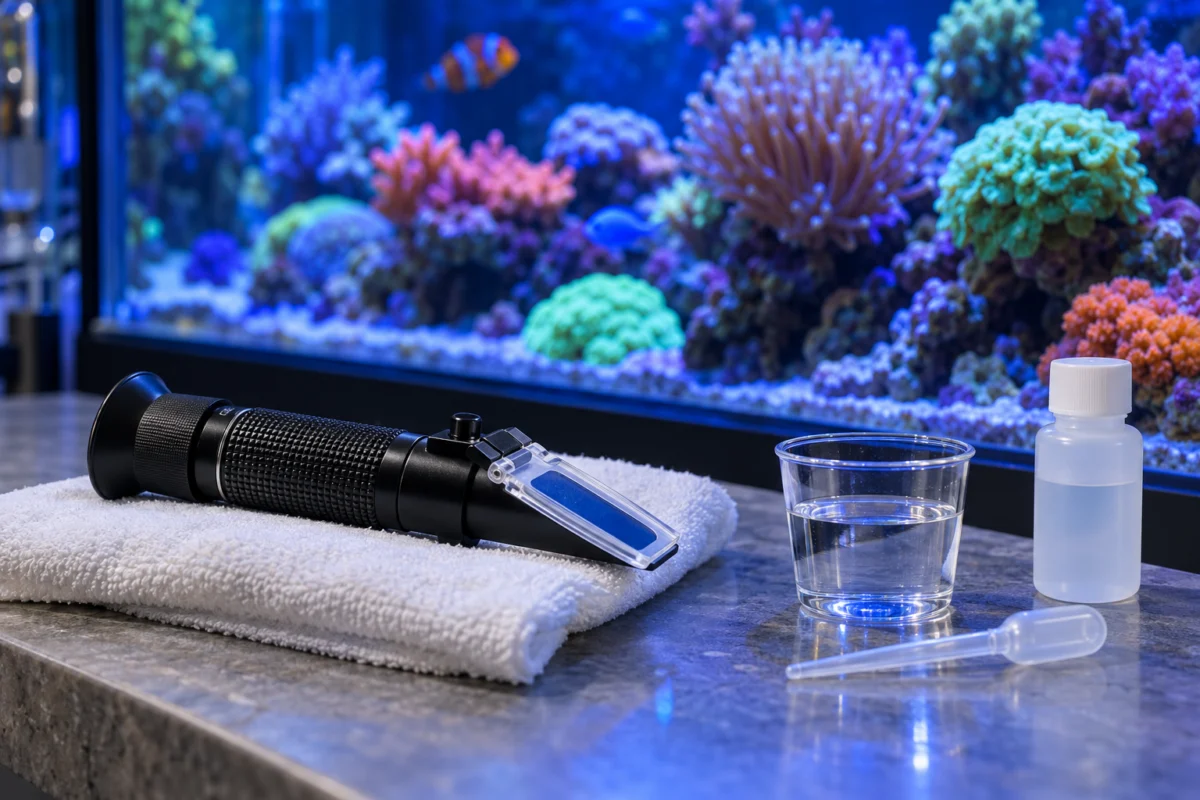
Prepare your salinity-testing equipment before changing reef aquarium water.
Today’s goal: measure the aquarium and the replacement water reliably, compare them in the same units, and investigate unexpected results before changing the water.
1. Know what your instrument measures
Use an instrument intended for seawater. An optical refractometer measures how a sample bends light; a conductivity tester estimates salinity from electrical conductivity. They use different measurement methods, so their calibration procedures and reference solutions may differ.
Keep your readings in one unit when comparing samples. Parts per thousand (ppt) is convenient for a maintenance log. Specific gravity is a density ratio with a temperature convention; do not compare a number on that scale directly with a ppt reading.
The useful question is not whether one device looks more precise. It is whether you are using it correctly and understand its stated accuracy.
2. Calibrate with the correct reference
Follow the manual for your exact model, including the specified calibration solution and temperature conditions. Do not assume a solution sold for one measurement method is suitable for another. Check compatibility on the label.
For example, Hanna’s HI98319 instructions identify a 35.00 ppt standard for its high-range calibration and require fresh reference solution. That is a model-specific procedure, not a rule for every aquarium instrument.
Keep reference fluids capped and clean. Never pour a used portion back into its original bottle or introduce it into the aquarium. If a reference is expired, contaminated, or has been left open, replace it rather than relying on it to check an unexpected reading.
3. Measure the aquarium first
Check that the aquarium is at its usual operating water level and that any automatic top-off system is working normally. Evaporation removes water while leaving salts behind; replacing evaporated water is a different job from replacing saltwater removed during a water change.
Take a sample from well-mixed aquarium water, away from a fresh top-off stream or dosing outlet. Use a clean sample container and follow your instrument’s cleaning and sample-handling directions.
With a refractometer, allow the instrument and sample to reach the conditions specified in its manual. Automatic temperature compensation does not remove the need to follow those instructions. With a digital probe, remove trapped bubbles and wait for the reading to stabilize.
4. Prepare the replacement water separately
Use a clean container suitable for aquarium water and follow your salt manufacturer’s instructions for the water source, salt quantity, mixing temperature, mixing time, and storage. Different blends can have different requirements; overnight mixing is not a universal rule.
Add salt to the water, rather than pouring water onto a pile of dry salt. Do not add dry salt directly to an aquarium containing livestock. Let the mix dissolve as directed, then bring the prepared water to a temperature appropriate for the aquarium before the final check.
Use the quantity printed on the salt container as a starting measurement, then verify the finished water. A scoop alone cannot confirm the final salinity.
5. Compare before you pump
Rinse or clean the instrument between samples as its manual directs, then test the replacement water. Record the aquarium reading, replacement-water reading, and temperature. For an ordinary maintenance change in a reef already at its intended salinity, aim to match the new water to that established target.
If the mixing container needs adjustment, make it there: add an appropriate small amount of freshwater or salt mix, mix fully, and retest. Keep following the salt’s preparation instructions.
Unexpected aquarium result? Pause and verify the measurement. Check calibration, units, temperature, cleanliness, and bubbles. An independently checked second instrument can help resolve a disagreement. A tank that needs a salinity correction requires a gradual correction plan, rather than an improvised large water change.
Do not chase the final decimal
A display’s smallest increment is not its guaranteed accuracy. Hanna lists 0.1 ppt display resolution for the HI98319, but an accuracy specification of ±1 ppt across its 0–40 ppt range. A tiny displayed difference therefore does not automatically mean that the two water samples are meaningfully different.
Build confidence through calibration, consistent technique, and repeatable readings. Repeatedly adding salt and freshwater to chase an uncertain decimal can make preparation harder without improving the result.
Your water-change checklist
- Check the aquarium’s normal water level and top-off operation.
- Verify the tester using its prescribed procedure.
- Prepare saltwater according to the salt manufacturer’s directions.
- Compare tank and replacement water in the same units.
- Resolve unexpected readings before transferring the new water.
Make consistency part of your reef routine.
Explore saltwater aquarium supplies at TropicalFishAndCoral.com, and keep your tester’s manual with your water-change equipment.
Sources and further reading
- Hanna Instruments: HI98319 instruction manual — model-specific calibration, sample handling, and maintenance.
- Hanna Instruments: HI98319 specifications — measurement method, display resolution, and accuracy.
- Red Sea: Seawater Refractometer — seawater scales and temperature considerations.
- Red Sea Salt: mixing instructions — preparation guidance for that salt blend.
- TUNZE: Osmolator 3 — the relationship between stable water level and salt concentration.
This practical checklist draws on manufacturer documentation. Always follow the current instructions supplied with your equipment and salt. The accompanying AI-generated image illustrates maintenance equipment and does not depict a specific product or store inventory.