

How to Tune a Protein Skimmer and Troubleshoot an Overflowing Cup
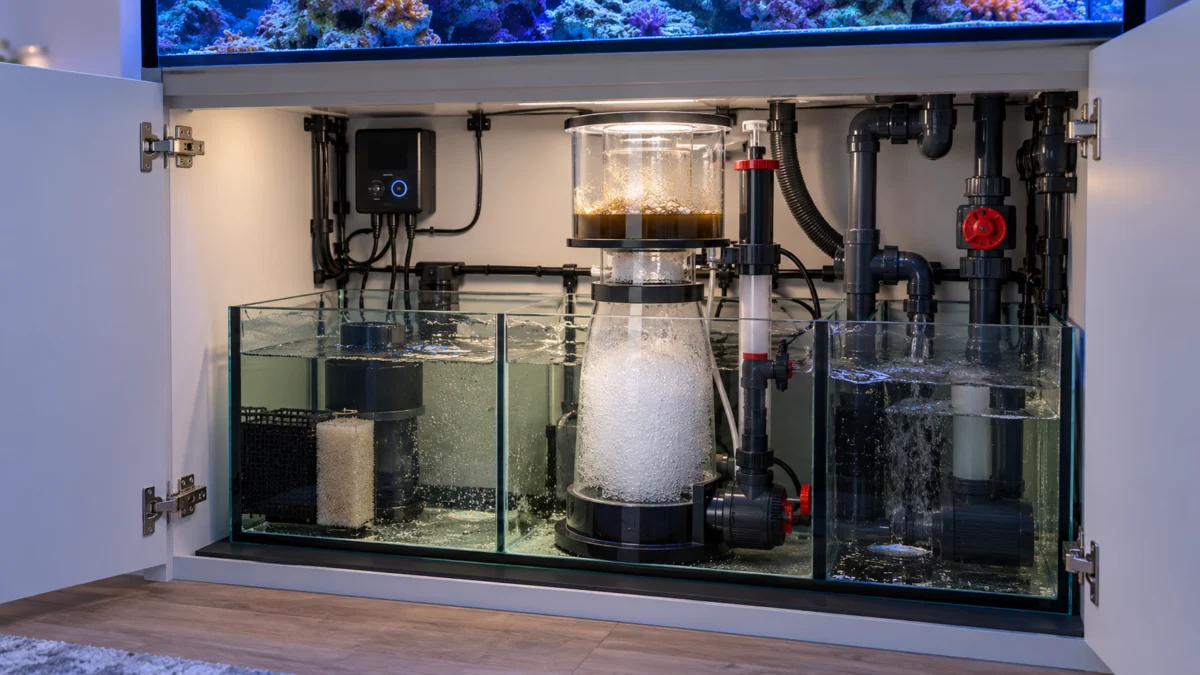
Understand skimmer depth, foam height, break-in, and collection before using a measured tuning routine and symptom-based troubleshooting.
About 4 minutes • Practical steps, troubleshooting & checklists
Original AI-generated editorial illustration.
In this guide
- Understand the three settings
- Step 1: Stabilize the installation
- Step 2: Give a new unit time
- Step 3: Establish a baseline setting
- Step 4: Make one small adjustment
- Step 5: Evaluate symptoms before turning controls
- Maintenance and a useful log
A protein skimmer can produce a convincing column of bubbles while collecting very little useful waste—or fill its cup with mostly aquarium water. Getting it to work consistently requires a stable installation and patient adjustments rather than constant knob turning.
This guide applies primarily to internal venturi-style skimmers. Hang-on-back and other designs may use different controls. The manual for your model determines the correct operating depth, startup settings, and adjustment procedure.
Understand the three settings
External water depth is the sump water level surrounding the skimmer. Internal foam or water height is adjusted by the outlet control on many models. Pump speed or air intake affects performance where the design provides that control. These interact, so changing all of them together makes tuning harder.
The collected liquid is often called skimmate. Wetter collection generally means more dilute liquid; drier collection is more concentrated. Cup color alone does not measure how effectively the whole aquarium is being managed. Look for repeatable operation and use water-quality observations alongside it.
Step 1: Stabilize the installation
Place the skimmer at the manufacturer’s recommended depth in a chamber with a stable water level. If a stand is needed, use a secure aquarium-appropriate support that cannot tip. Check that the outlet, air intake, and pump are correctly assembled and unobstructed.
Make sure the collection cup is seated correctly. If it has a drain, keep it safely closed or routed to an appropriate managed container. An unattended drain can allow a malfunctioning skimmer to remove substantial saltwater. Check any overflow protection your model provides.
Step 2: Give a new unit time
New skimmers commonly need a break-in period; around a week is a useful expectation for many models, but follow the manual. Startup behavior can be erratic. Use conservative settings and monitor the cup rather than trying to force dark collection on the first afternoon.
Rinse or prepare a new unit only as directed. Keep detergents away from aquarium equipment. After assembly or cleaning, verify normal pump operation before adjusting performance.
Step 3: Establish a baseline setting
Use the manual’s startup pump and outlet settings. Note the sump depth and photograph the position of the foam. Begin from a setting unlikely to rapidly overflow the cup. Confirm normal water flow through the skimmer and a functioning air path.
On many outlet-valve designs, restricting the outlet raises the internal level and opening it lowers that level. Verify the control direction on your model rather than assuming every dial works the same way.
Step 4: Make one small adjustment
Change one setting slightly, record it, and allow at least 30–60 minutes to assess the response before making another adjustment, unless the cup is actively overflowing. Longer observation through the normal feeding cycle helps reveal whether the setting is repeatable.
Keep food input and sump depth consistent while tuning. Record cup volume over a comparable time window. “About a cup this morning” means little if the previous observation covered three days.
Step 5: Evaluate symptoms before turning controls
| Symptom | First checks |
|---|---|
| Cup rapidly fills with pale water | Sump depth, internal level, startup state, and recent additions |
| Little foam despite normal pump operation | Airline, venturi, assembly, dirty neck, and system organic load |
| Performance changes after feeding | Allow the transient response to settle before retuning |
| Repeatedly inconsistent operation | Water-level changes, blocked air path, and irregular maintenance |
Food, additives, and some aquarium work can change foam behavior. Do not assume every overflow requires permanently changing pump speed. If a sudden change follows a product addition, check that product’s instructions and keep the skimmer from spilling while you investigate.
Maintenance and a useful log
Empty the cup and clean the neck regularly according to the manual. Inspect the air path and pump on the recommended schedule. After maintenance, watch for a temporary behavior change and verify the previous setting before making a large correction.
- Model and recommended water depth.
- Measured sump depth, pump setting, and outlet position.
- Adjustment time and the single change made.
- Collection amount over a fixed interval.
- Recent feeding, additives, cleaning, or water changes.
If the cup is actively overflowing, contain the spill and use the manual’s safe shutdown or lowering procedure immediately. Patient tuning applies to stable operation, not to letting an overflow continue.