

Coral Dipping and Quarantine: A Careful Workflow for New Frags
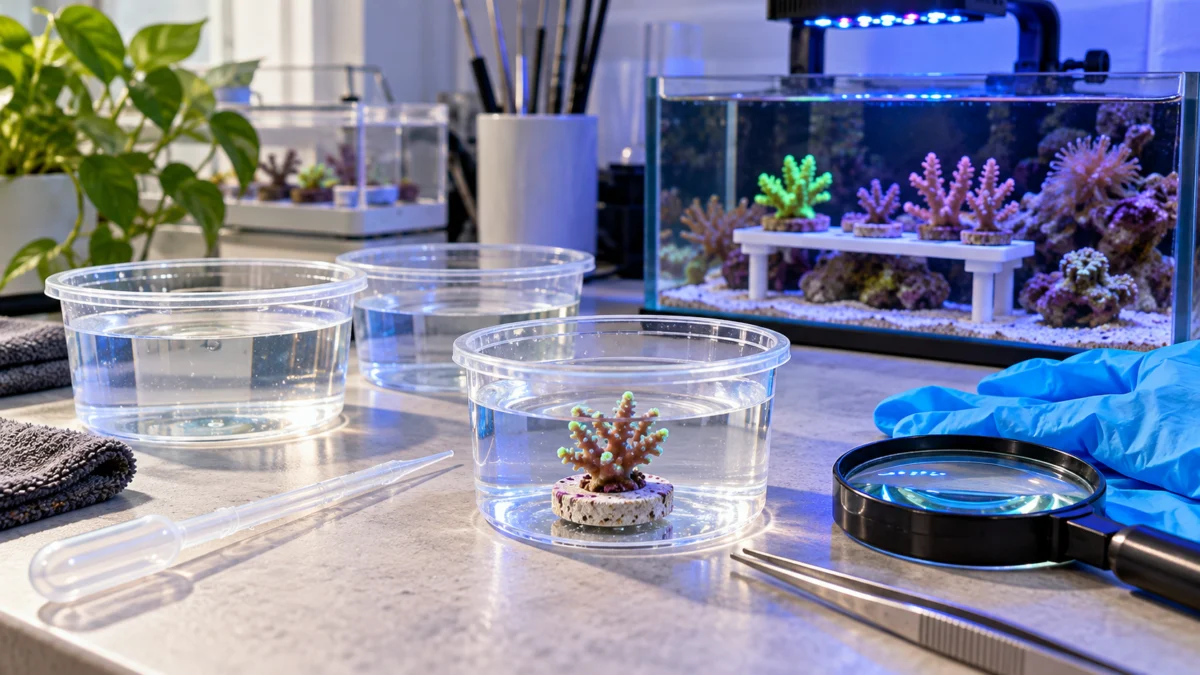
Prepare, inspect, dip, rinse, and observe new coral frags while understanding why a dip alone cannot eliminate every pest risk.
About 4 minutes • Practical steps, troubleshooting & checklists
Original AI-generated editorial illustration.
In this guide
- Prepare before the coral arrives
- Step 1: Inspect before treating
- Step 2: Measure the dip carefully
- Step 3: Rinse and examine again
- Step 4: Observe in a separate coral system
- A useful intake record
- Common mistakes to avoid
A new coral can carry more than attractive color. Frag plugs, exposed skeleton, and crevices can hide unwanted organisms. A careful intake routine reduces the chance of introducing a problem into the display, but no single dip makes a coral automatically pest-free.
Keep three jobs separate: acclimation addresses changing environmental conditions; a compatible dip targets certain exposed pests; quarantine provides time and separation for observation. Each has a different purpose.
Prepare before the coral arrives
Gather a timer, measuring tool, magnifying glass, dedicated containers, a gentle baster, and the chosen coral dip. Read the current label for that exact formulation. Products differ in concentration, exposure time, and suitability for particular animals. A dose from another brand—or another version of the same brand—is not interchangeable.
Prepare suitable saltwater for the dip and clean rinses, keeping temperature and salinity appropriate for the coral and its intake procedure. Follow the seller’s acclimation guidance. Handle frags by the plug or suitable exposed base rather than squeezing living tissue. Wear gloves and eye protection; do not heat, boil, or aerosolize zoanthids or palythoas.
Step 1: Inspect before treating
Look at the underside of the plug, the base, tissue edges, and any rock attached to the coral. Photograph suspicious spots before disturbing them. A photograph helps you compare later observations or ask an experienced keeper for identification. Distinguish a suspected pest from ordinary tissue, mucus, or harmless hitchhikers before attempting removal.
Do not automatically apply a harsh treatment to a severely stressed or damaged coral. Confirm an appropriate approach with the supplier. Extra concentration and extra time are not reliable ways to improve a dip.
Step 2: Measure the dip carefully
Use a separate container and the label’s specified saltwater volume. Measure the product with an appropriate tool, mix it as directed, and start the timer when exposure begins. Never pour coral-dip solution into the display aquarium.
Maintain the gentle water movement specified by the product. If directed, use a baster to move water around the frag without blasting its tissue. Observe continuously. Do not walk away and let the treatment become an indefinite soak.
Step 3: Rinse and examine again
Transfer the coral into clean, appropriate saltwater according to the product instructions. Keep used dip water separate. Examine the bottom of the treatment container and inspect the frag again. Finding organisms in the container tells you something was removed; finding none does not prove that the coral carries nothing.
Plugs are common hiding places. Removing or replacing one may reduce risk when it can be done safely, but an encrusted frag should not be torn apart casually. Ask for help if separating the coral would injure tissue or compromise its support.
Step 4: Observe in a separate coral system
A quarantine aquarium needs suitable lighting, movement, temperature, salinity, and water quality. It should not share water with the display. Keep dedicated tools and avoid moving used treatment water between systems. Label the frag with its arrival date and source.
Dips may leave pest eggs behind. Observation and any repeat treatment must account for the identified pest’s life cycle and the coral’s tolerance. There is no universal quarantine duration or redipping schedule that guarantees freedom from every coral pest. If a pest appears, identify it and develop a specific plan before moving the frag into the reef.
A useful intake record
- Coral name, supplier, and arrival date.
- Condition on arrival and photographs of the base.
- Dip brand, formulation, measured water volume, dose, and exposure time.
- Rinse procedure and any organisms observed.
- Daily condition notes and the reason for any further treatment.
Common mistakes to avoid
Do not combine dips, improvise pesticide mixtures, treat invertebrates with a coral-only product, or assume visible pest removal means eggs were destroyed. Quarantine is most useful when its environment supports the coral rather than adding stress.
A good release decision is based on coral health, repeated inspection, and an appropriate pest-specific observation plan—not simply “I dipped it once.”