

How to Control Reef Tank Algae Without Making the Problem Worse
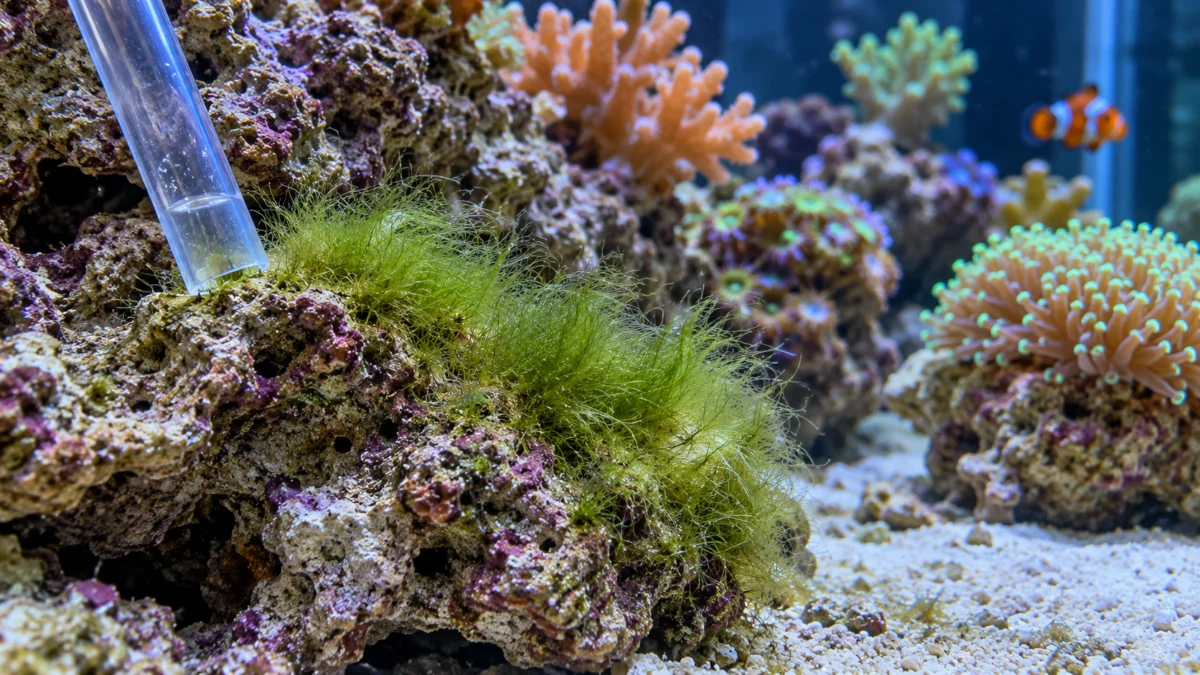
A practical reef algae guide covering identification, manual removal, nutrient tracking, grazing animals, and a measured two-week maintenance plan.
About 4 minutes • Practical steps, troubleshooting & checklists
Original AI-generated editorial illustration.
In this guide
- 1. Identify the growth before choosing a solution
- 2. Establish a baseline
- 3. Remove algae while collecting the debris
- 4. Review the inputs and export
- 5. Add grazers for a specific job
- A suggested two-week observation plan
- Troubleshooting and common mistakes
Algae is frustrating because it can make an otherwise healthy aquarium look neglected. The temptation is to buy a treatment, remove every trace overnight, and change several settings at once. A more useful approach is to identify the growth, remove what you can safely collect, and look for the conditions that allow it to return.
This guide focuses on routine nuisance-algae management. It is not a diagnosis based on color alone, and the example schedule below is a way to organize observations—not a guaranteed eradication timeline.
1. Identify the growth before choosing a solution
Fine green strands commonly indicate hair algae. Feather-shaped growth can suggest Bryopsis, while smooth green spheres suggest bubble algae. A dusty brown coating may be diatoms; a slimy sheet may be cyanobacteria, which is a bacterium rather than an alga. Similar appearances can have different causes. Take close photographs under white light and ask for identification if the growth is unfamiliar.
Write down where it appears: only on one rock, across the sand, in low-flow corners, or around a new frag. That record gives you something more useful than “the tank looks worse.” Do not select medication solely because the growth is brown or green.
2. Establish a baseline
Record nitrate, phosphate, lighting schedule, feeding amounts, and recent changes. Note the test kit and units so later readings are comparable. A low nutrient reading does not necessarily mean there is no nutrient input: a large mass of algae may be consuming nutrients as they become available.
Avoid trying to force both nitrate and phosphate to zero. The aim is a stable environment appropriate to your corals, not a perfectly blank test result. Evaluate trends alongside the animals’ condition rather than making large corrections after a single reading.
3. Remove algae while collecting the debris
Prepare a siphon, dedicated brush, bucket, and replacement saltwater. Work on a manageable section during a planned water change. Gently loosen accessible growth on bare rock while siphoning nearby so fragments leave the system. Keep brushes away from living coral tissue.
If a rock can be removed without destabilizing the aquascape or exposing attached animals unsafely, it may be easier to clean it in a separate container of saltwater. Do not dismantle a mature reef just to reach one patch. Dispose of collected debris and maintain mechanical filtration so trapped waste does not simply remain in the system.
4. Review the inputs and export
Measure food portions instead of adding an uncertain pinch. Check whether food reaches the animals or repeatedly disappears behind the rocks. Inspect dirty filter material and confirm existing filtration is operating properly. Review source-water quality if an unexplained problem persists.
Keep coral lighting needs in mind before shortening the schedule. A lighting change, a feeding change, and new phosphate-removal media introduced together make it difficult to know what helped. Choose one modest correction, document it, and observe.
5. Add grazers for a specific job
Suitable snails and other herbivores can help keep short growth under control. They are support animals, not a substitute for removing an established mat. Research their adult size, diet, and compatibility. Do not buy a fish that will outgrow the aquarium simply because it might eat algae.
A suggested two-week observation plan
- Day 1: Photograph the same three areas, record tests, and remove one accessible patch.
- Days 2–4: Keep portions consistent and inspect waste collection.
- Day 7: Repeat photographs and tests. Compare regrowth, not just remaining coverage.
- Day 14: Review the trend. If growth is unchanged or spreading, revisit identification before adding another intervention.
Troubleshooting and common mistakes
“It grows back immediately.” Look at the whole routine: collection of fragments, feeding, source water, and filtration. “The test reads zero.” Consider nutrient uptake by the growth and the kit’s detection limit. “My snails ignore it.” Check whether the organism and the animal’s diet actually match.
Before your next change: identify the growth, take a baseline photo, collect removed material, and change one thing at a time. If corals are deteriorating, stop escalating algae treatments and assess water quality and livestock needs first.