

Keep Reef Temperature Stable
Reef keeping • Detailed tip
Keep Reef Temperature Stable: Heater Placement, Controls, and Heat Management
Build a dependable reef temperature routine with appropriate heater sizing, independent checks, sensible probe placement, and planned cooling.
About 4 minutes • Practical steps, troubleshooting & checklists
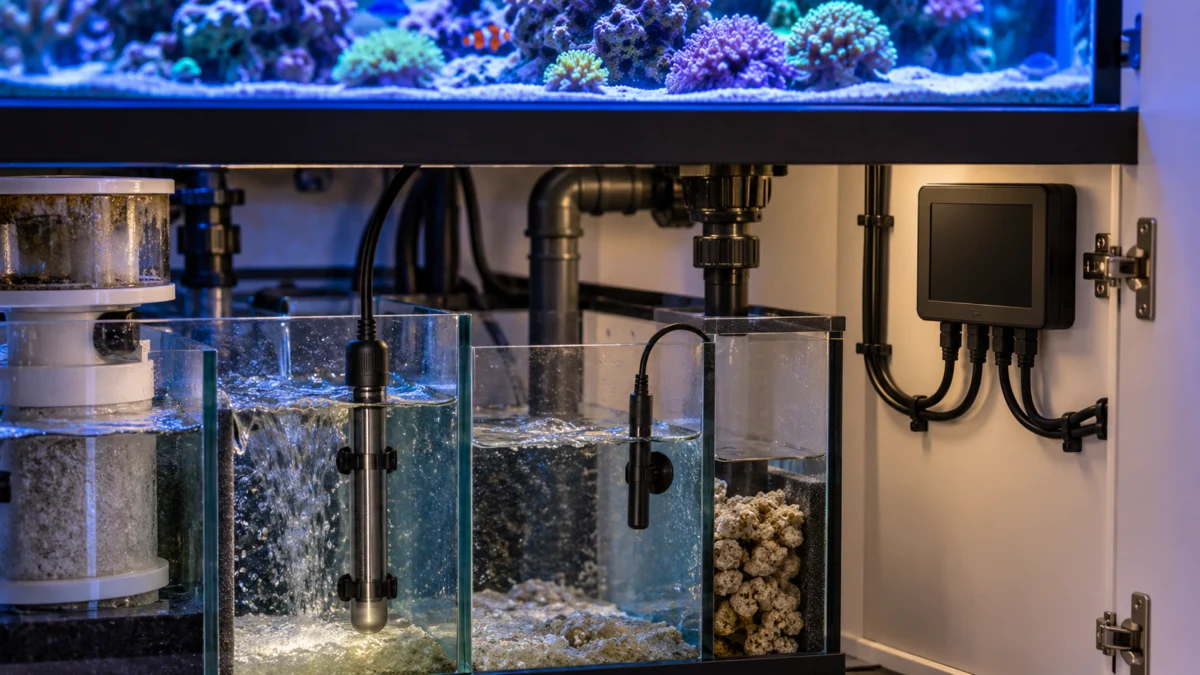
Original AI-generated editorial illustration.
In this guide
- 1. Establish the real daily pattern
- 2. Size for the environment
- 3. Put the heater where water circulates
- 4. Place the sensing probe logically
- 5. Add safeguards without trusting them blindly
- 6. Investigate heat before buying a chiller
- A useful observation table
- Monthly checks and common mistakes
Temperature control is a system, not just a heater dial. Room conditions, circulating water, heating capacity, sensor placement, and equipment reliability all affect the temperature the animals experience. A stable number on a controller is reassuring only if it represents the aquarium accurately.
This guide focuses on everyday temperature management and equipment checks. Choose a suitable operating range for your livestock and avoid assuming every marine animal has identical needs.
1. Establish the real daily pattern
Check temperature with a reliable independent thermometer as well as the heater or controller display. Record morning and evening results over several days, noting room temperature and the lighting period. Where possible, review logged highs and lows rather than only the current reading.
A typical tropical reef may be managed near 78°F, about 25.6°C, but the animals’ requirements and the system’s normal pattern should guide the target. Do not repeatedly move the setpoint to correct every tiny fluctuation. First determine whether the difference is real and meaningful.
2. Size for the environment
Heating capacity depends on water volume and how far the water must stay above the room’s minimum temperature. Use the heater manufacturer’s sizing guidance and account for sump volume, equipment space, and the actual room conditions.
An aquarium in a cold room has a different requirement from the same aquarium in a consistently warm home. Avoid solving uncertainty by installing an unnecessarily powerful heater. Excess capacity can make a stuck-on failure more consequential. A backup arrangement can help, but it must be sized and configured intentionally.
3. Put the heater where water circulates
Follow the model’s immersion and orientation instructions. Choose a suitable circulating area and secure the heater so it cannot rest against an inappropriate surface. Confirm that normal operation and maintenance will not expose it below its permitted water level.
Before draining or moving equipment, switch heaters off and follow the manual’s cooling and handling instructions. Never test a submerged heater by running it in air. A working indicator light does not prove safe installation or uniform tank temperature.
4. Place the sensing probe logically
Secure the controller probe where it measures representative circulating water. Avoid placing it immediately against the heater, beside a cooling outlet, or where it might become uncovered. Check that a maintenance task cannot accidentally pull it out.
Compare the controlled area with the display. If a sump warms while return circulation is stopped, its reading may not describe the display. Account for feeding modes, pump outages, and maintenance in the control plan rather than assuming water always moves normally.
5. Add safeguards without trusting them blindly
A compatible external temperature controller can interrupt heater power if the measured water becomes too warm. For a heater with its own thermostat, coordinate the settings according to the equipment instructions. A bare heating element requires an appropriate controller; do not treat it like a self-regulating heater.
Separate sensing and control can improve protection, but a loose or failed probe is still a problem. Verify alarms and review their behavior. If using a primary heater and a standby unit, configure and test the intended sequence while monitoring independent temperature. Two heaters on one failed control are not complete redundancy.
6. Investigate heat before buying a chiller
When water runs too warm, verify the reading and inspect room conditions, ventilation, equipment heat, and heater operation. A thermostat problem and a warm room require different responses.
Aquarium fans can provide evaporative cooling in suitable conditions, which increases freshwater replacement needs. Keep electrical equipment mounted safely and preserve the tank’s livestock containment. If a chiller is needed, select it using the required temperature drop, room temperature, total water volume, and equipment heat load—not capacity alone. Follow its flow and ventilation requirements.
A useful observation table
| Symptom | First investigation |
|---|---|
| Warmest after lights run | Room pattern, fixture heat, ventilation, and heater shutoff |
| Cold by morning | Room minimum, heating capacity, and actual heater operation |
| Controller and thermometer disagree | Probe location, sensor condition, and instrument accuracy |
| Temperature differs across chambers | Circulation and where heating and sensing occur |
Monthly checks and common mistakes
- Inspect the heater, mounts, cables, and probe without handling energized equipment.
- Compare the display with an independent temperature check.
- Review alerts, highs and lows, and seasonal room changes.
- Follow manufacturer inspection and replacement guidance.
- Keep a tested response plan for a failed heater or cooling device.
If temperature changes unexpectedly, confirm it promptly and investigate the cause. Avoid abrupt heating or cooling based on one unverified display. Stable management starts with accurate sensing and an understood response plan.
References & further reading
- Reef heater setup and sizing
- Placement and independent temperature checks
- External controller protections
- Cooling capacity and installation considerations
Tropical Fish & Coral • Tips & Tutorials