

Get Reliable Salinity Readings
Reef keeping • Detailed tip
Get Reliable Salinity Readings: Calibration, Sampling, and Troubleshooting
Learn how to calibrate the right instrument, collect repeatable samples, interpret salinity units, and verify surprising aquarium readings.
About 4 minutes • Practical steps, troubleshooting & checklists
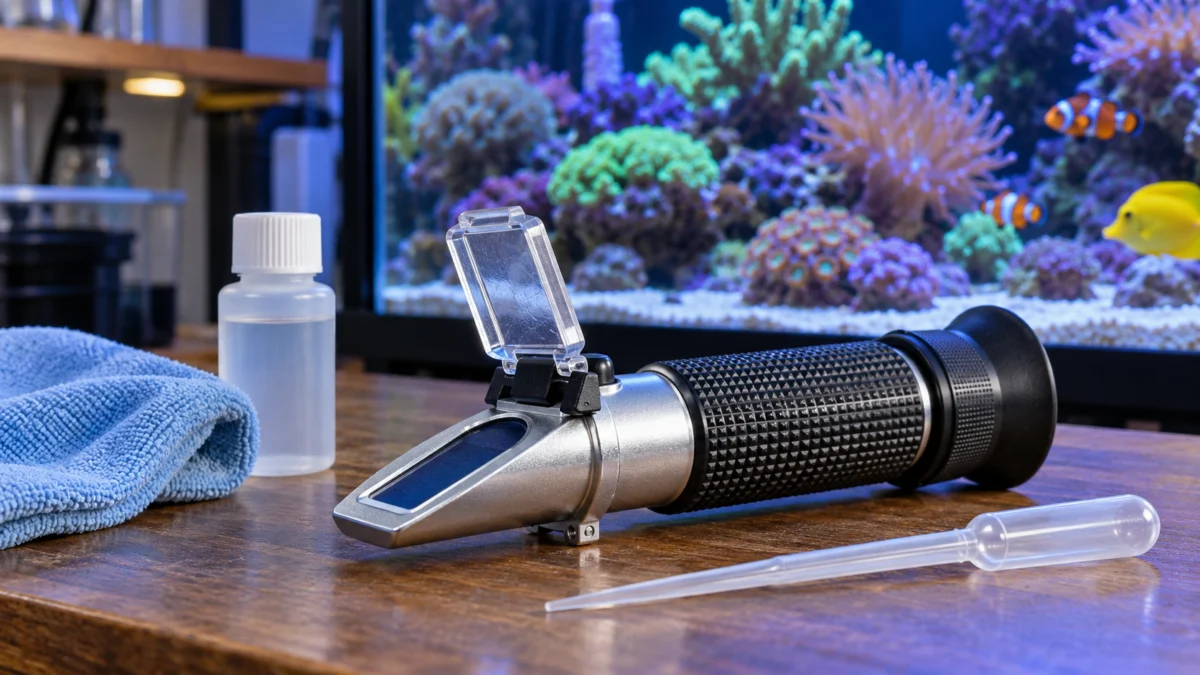
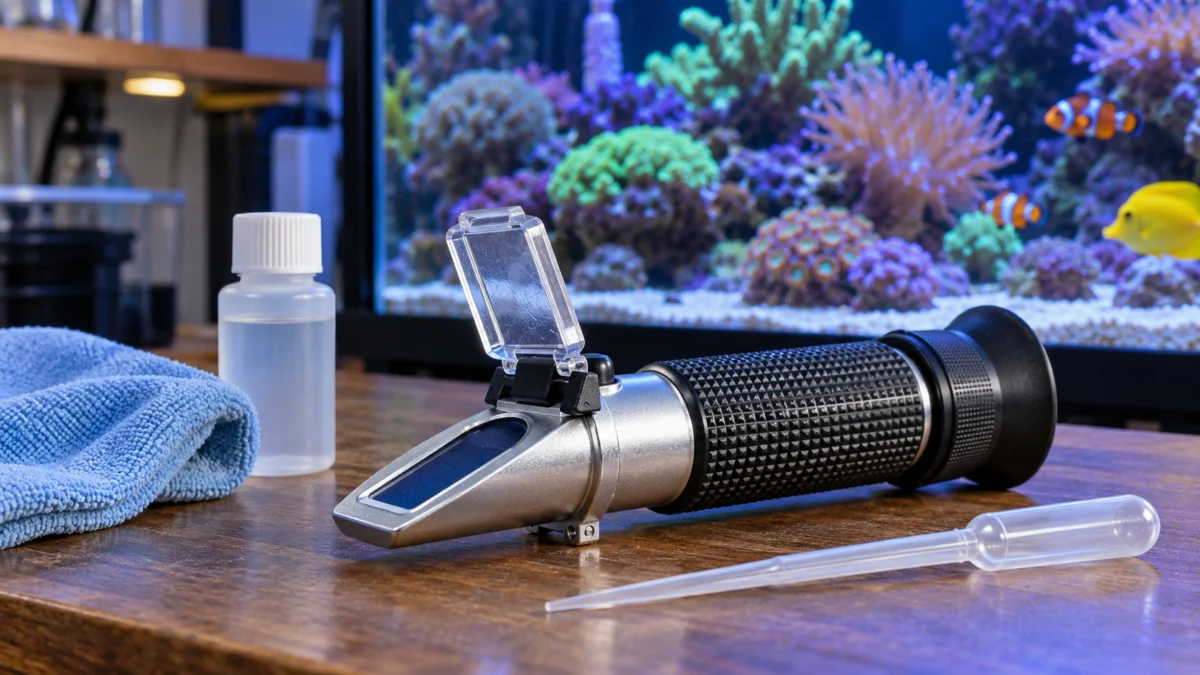
Original AI-generated editorial illustration.
In this guide
- 1. Know the instrument and the units
- 2. Use the correct calibration method
- 3. Protect the reference solution
- 4. Collect a representative sample
- 5. Repeat before correcting
- Use a simple measurement record
- Troubleshooting common problems
A salinity reading is only useful when you trust the instrument and the way you collected the sample. A display can show the same number every day while an unnoticed calibration error continues. Before changing your aquarium’s water, establish whether you have measured it correctly.
This guide is about measurement, not routine evaporation replacement. It explains how to build a repeatable testing process and how to separate a real salinity change from an instrument problem.
1. Know the instrument and the units
Optical refractometers measure how light bends through a sample. Conductivity-based salinity meters infer salinity from electrical conductivity. Hydrometers measure relative density. Each needs its own cleaning, calibration or verification procedure, and temperature guidance.
Record the model and the displayed units. Salinity in parts per thousand, commonly written ppt, is not the same numerical scale as specific gravity. A reading of 35 ppt should not be compared directly with 1.026. Specific gravity also depends on its temperature reference. Use the instrument’s seawater scale and manual rather than a conversion remembered from another device.
2. Use the correct calibration method
Many adjustable aquarium optical refractometers are calibrated with an appropriate seawater reference around 35 ppt, close to typical reef conditions. That approach is not universal. For example, the Hanna HI96822 digital seawater refractometer is zero-calibrated with distilled or deionized water according to its manual. Other meters may require a specific conductivity standard.
Find the instructions for your exact model. Distinguish calibration, which adjusts the instrument, from verification, which checks its reading against a known reference. Do not put a 35 ppt solution into a zero-calibration routine simply because it works for another refractometer.
3. Protect the reference solution
Use a compatible, uncontaminated standard and follow its storage instructions. Keep the cap closed between uses; evaporation can change a standard’s concentration. Do not return a used sample to the bottle. Avoid touching the dropper to aquarium water or a dirty prism.
A useful organization habit is to label the bottle with its opening date and keep it with the instrument’s instructions. If several people maintain the tank, include the exact calibration method on a short card. “Use calibration fluid” is too vague when more than one instrument is present.
4. Collect a representative sample
Take water from a well-mixed area, away from an active top-off outlet, additive line, or newly introduced saltwater. After a water change, allow the system to mix before checking. Use a clean dedicated pipette or sample cup.
For an optical unit, clean and dry the prism as directed, apply enough sample to cover it, and avoid bubbles or uneven coverage. Allow the specified temperature-equilibration time. Automatic temperature compensation does not remove the need to follow the instrument’s operating limits. Read promptly so a small exposed sample does not change through evaporation.
5. Repeat before correcting
If a result is unexpected, clean the sampling surface and test a fresh sample. Verify calibration with the correct procedure. If two instruments disagree, do not simply average them: check units, standards, temperature references, and each device’s condition.
Only after confirming the result should you plan a measured correction appropriate to the animals. Never add dry salt directly to an occupied display to repair an uncertain reading. A sudden change in a notebook number is not, by itself, a reason for a sudden change in the tank.
Use a simple measurement record
| Record | Example entry |
|---|---|
| Instrument and units | Model name; ppt seawater scale |
| Calibration check | Method, standard, and date |
| Sampling conditions | Mixed display water; no outlet nearby |
| Results | First sample and fresh repeat sample |
| Recent event | Water change, maintenance, or no change |
Troubleshooting common problems
- Readings climb between samples: Look for salt residue, evaporation, or inconsistent sample handling.
- Optical boundary is blurry: Check focus, prism cleanliness, bubbles, and coverage.
- Another meter disagrees: Verify both rather than declaring the newer one correct.
- Numbers jump after maintenance: Retest after mixing and confirm that the sample was not taken beside a freshwater outlet.
Reliable testing is a sequence: identify the device, use its correct standard, sample consistently, repeat surprises, and then act. Keep the same sequence even when the first reading looks reassuring.
References & further reading
- Optical refractometer use and care
- Salinity instruments and sampling
- Hanna HI96822 calibration instructions
- Example optical calibration standard and storage
Tropical Fish & Coral • Tips & Tutorial